Welcome to Dejan's Blog
Simplifying Workflow Management with the XWorkflows Library
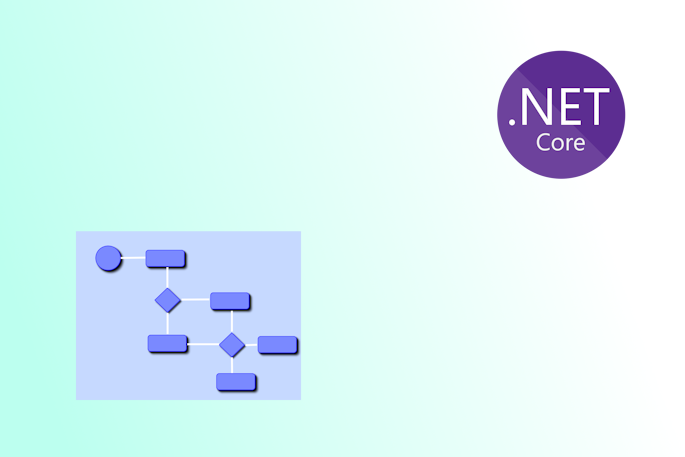
Simplifying Workflow Management with the XWorkflows Library
Introduction
Managing complex workflows within software applications can quickly become a challenge, especially when dealing with multiple states, actions, and entities. Navigating the intricacies of transitioning between these states while ensuring data integrity can lead to spaghetti code and maintenance headaches. Fortunately, the XWorkflows library emerges as a powerful tool to address these concerns, offering an elegant and efficient solution for managing workflow behavior.
Installation
Before we dive into the details, let's get started with the installation process. The XWorkflows library is conveniently available on NuGet, making it effortless to integrate into your projects. To install the library, follow these simple steps:
Open your NuGet Package Manager Console.
Run the following command:
Install-Package XWorkflows
The library and its dependencies will be fetched and installed into your project.
With the XWorkflows library in your toolkit, you're ready to explore how it simplifies and enhances workflow management within your software applications.
Basic Concepts
At the heart of the XWorkflows library lie several fundamental concepts that form the building blocks of effective workflow management. Let's briefly explore these concepts before diving into practical implementation:
Workflow Entities: These are the subjects of your workflows, entities that undergo state transitions based on actions. The library provides a framework to manage the state changes of these entities gracefully.
Workflow Actions: Actions encapsulate specific tasks that can be executed on entities. They define the logic associated with each transition and can lead to changes in the entity's state.
Workflow Events: Events are triggered upon successful action execution. They allow for additional tasks such as logging, notifications, and post-action execution logic.
Workflow States: States represent the various stages an entity can go through. Each state defines the actions that can be performed from it, encapsulating the logic for transitioning.
Workflow: A workflow brings all these pieces together, organizing and orchestrating the execution of actions and managing the state transitions of entities.
With these core concepts in mind, let's delve into how to implement and utilize the XWorkflows library to achieve effective workflow management in your applications.
In the following sections, we'll guide you through the process of setting up workflows, defining actions and states, handling errors, and exploring advanced features that allow for tailored customization and efficient workflow management. Let's get started!
Getting Started
Now that we have a foundational understanding of the core concepts of the XWorkflows library, let's dive into getting started with practical implementation.
Defining Entities
Entities are at the center of your workflow management. They represent the objects that undergo state transitions as actions are executed. To define an entity that can be managed by XWorkflows, you'll need to create a class that implements the IWorkflowStateEntity
public class OrderEntity : IWorkflowStateEntity<State>
{
    public string Identifier { get; set; }
    public State State { get; set; }

    public async Task<string> GetIdentifier()
    {
        return Identifier;
    }

    public async Task<State> GetState()
    {
        return State;
    }

    public async Task SetState(State state, string identifier)
    {
        State = state;
    }
}
Creating Actions
Actions define the specific tasks that can be executed within a workflow. They encapsulate the logic associated with state transitions and can be triggered by external events or triggers. To create a custom action, you'll need to inherit from the WorkflowAction class provided by the library.
public class SubmitOrderAction : WorkflowAction<OrderWorkflow, SubmitOrderEvent, CreatedState, OrderEntity, State, SubmitOrderActionRequest, SubmitOrderActionRequest, bool>
{
    public SubmitOrderAction(CreatedState state, SubmitOrderEvent e) : base(state, e)
    {
    }

    public override async Task<(WorkflowActionResult<bool>, SubmitOrderActionRequest)> Execute(OrderEntity data, SubmitOrderActionRequest p, CancellationToken cancellationToken)
    {
        // Custom logic for submitting an order
        // Transition the entity's state and perform necessary tasks

        return (WorkflowActionResult<bool>.Succeeded(true), p);
    }
}
Creating Events
Events provide the opportunity to perform tasks after an action is successfully executed. They can include tasks such as logging, sending notifications, or updating related data. To create an event, implement the IWorkflowEvent interface or derive from the WorkflowEvent class.
public class SubmitOrderEvent : WorkflowEvent<OrderWorkflow, CreatedState, OrderEntity, State>
{
    public override async Task Execute(OrderEntity data, CancellationToken cancellationToken)
    {
        // Perform post-action tasks like logging or notifications
    }
}
In the next sections of this article, we will cover more advanced topics such as error handling, managing multiple workflows, and customizing action/event execution. We will also provide practical examples showcasing how the XWorkflows library can be applied to real-world scenarios to simplify workflow management.
Stay tuned for Part 2 of this article where we dive deeper into these concepts and demonstrate their implementation with comprehensive code examples.
Conclusion
The XWorkflows library offers a powerful solution to the complexities of workflow management within software applications. By embracing its core concepts of entities, actions, events, states, and workflows, developers can create well-organized and efficient workflow systems that ensure data integrity and simplify maintenance. In Part 2 of this article, we'll explore more advanced features and dive into practical examples, enabling you to harness the full potential of the XWorkflows library for your projects.
References and Resources
XWorkflows Examples GitHub Repository: https://github.com/dejandjenic/XWorkflows.Examples
NuGet Package: XWorkflows
About me

Social Plugin
Popular posts
|
|
|
|
|
|

|
|

|
|
|
Tags
- dotnet 10
- genesysSSG 6
- github 5
- xworkflows 3
- tests 2
- xunit 2
- docker 2
- mermaidjs 2
- introduction 2
- github pages 2
- testing 1
- JWT 1
- dotnet tool 1
- testcontainers 1
- signalR 1
- azure 1
- Blazor 1
- WebAssembly 1
- Electron.js 1
- blazor 1
- wasm 1
- gcp 1
- cloud function 1
- minimal api 1
- dotnet7 1
- gitlab 1
- nuget 1
- caching 1
- redis 1
- docker compose 1
- YARP 1
- NBomber 1
- video 1
- personal blog 1
